In the digital age, managing devices and peripherals like printers has become an essential part of our daily lives. However, there may come a time when you will need to remove a printer from your Windows 11 or Windows 10 PC. Whether you’re upgrading your printer, experiencing compatibility issues, or simply decluttering your device list, this guide will walk you through the steps to efficiently remove a printer from your Windows PC.
Why You Might Need to Remove a Printer
Before we get into the process, it’s important to understand why you want to remove the printer:
1. Upgrading or Replacing Your Printer
When you get a new printer or upgrade your existing printer, it is necessary to remove the old printer to avoid confusion and ensure proper installation of the new device.
2. Solving Compatibility Issues
If your printer isn’t working properly with your PC or if you’ve switched to a different model or brand, removing the old printer may resolve compatibility issues.
3. Decluttering Your Devices
Over time, your devices list may become cluttered with printers you no longer use. Deleting them can streamline your device management.
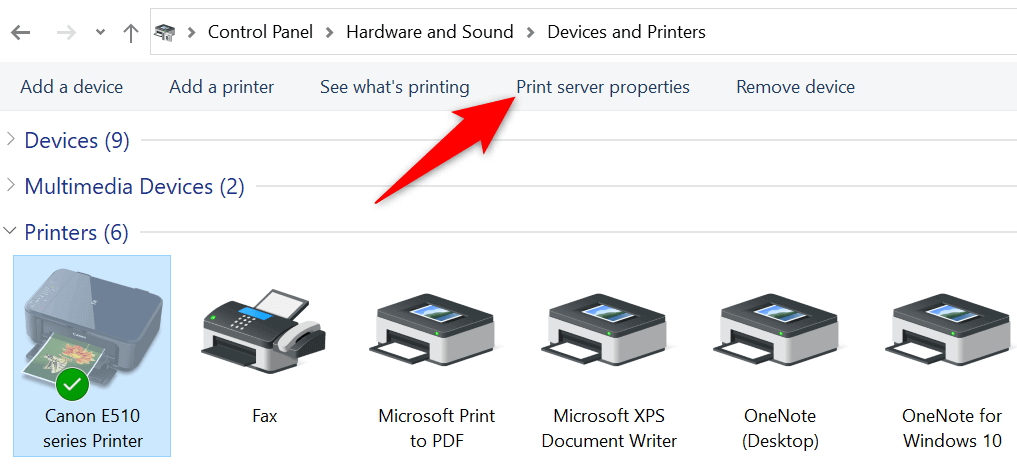
Step-by-Step Guide
Now, let’s move on to the process of removing a printer from your Windows 11 or Windows 10 PC:
Click the “Start” menu and select “Settings”.
In the Settings window, click the “Device” option.
On the left sidebar, select “Printers & Scanners.”
In the Printers and Scanners section, you will see a list of connected printers. Find the one you want to remove.
Click on the printer you want to remove and a “Remove Device” button will appear. Click it.
A confirmation dialog will appear, asking if you are sure you want to delete the printer. Confirm by clicking “Yes”.
The selected printer will be removed from your PC, and you will see it disappear from the list of printers and scanners.
Conclusion
Removing a printer from your Windows 11 or Windows 10 PC is a straightforward process that can help you maintain an organized and efficient device list. Whether you’re upgrading your printer, dealing with compatibility issues, or simply decluttering, following these steps will ensure a hassle-free experience.
No, you will have to remove each printer individually by following the steps outlined in this guide.
2. Will removing a printer delete its drivers?
No, removing a printer will simply remove it from the list of connected devices on your PC. The printer drivers will remain intact unless you uninstall them separately.
3. Can I remove a printer if it’s offline?
Yes, you can remove the printer even when it is offline.
4. Is there a limit to how many printers I can connect to my Windows PC?
There is no strict limit to the number of printers you can connect, but it is recommended to keep your device list organized by removing printers you no longer use.
5. What should I do if I accidentally remove the wrong printer?
If you accidentally remove the wrong printer, you can easily reconnect it by following the printer setup process on your PC.