Your Tech Story

printer setup

Quick Fixes for Epson Printer Offline Error on Mac and iPhone

Quick Fixes for Epson Printer Offline Error on Mac and iPhone

Encountering printer offline error can be quite frustrating especially when you need to print documents urgently. If you are using an Epson printer with a Mac or iPhone and encounter this issue, don’t worry. There are several troubleshooting steps you can follow to resolve this issue and get your printer back online.

Understanding the Printer Offline Error
Quick Fixes for Epson Printer Offline Error on Mac and iPhone

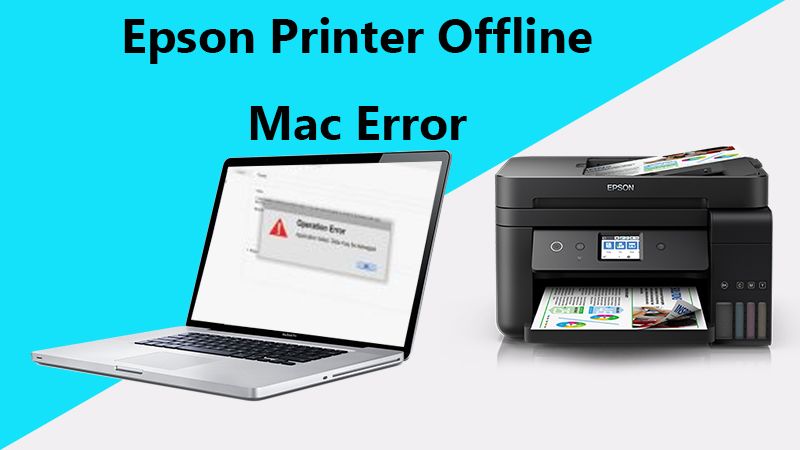
Image Source: epsonprintersupportpro.us

The “Offline” printer status indicates that your computer or iPhone cannot communicate with the printer. This problem can arise due to various reasons, such as connectivity issues, outdated printer drivers, or incorrect printer settings. Identifying the source of the cause is the first step toward fixing the problem.

Initial Checks

Before proceeding with more complex solutions, perform these basic checks:

  • Ensure the Printer is Turned On: It might seem obvious, but sometimes the printer might be off or in sleep mode.

  • Check the Connection: Make sure your Epson printer is properly connected to your Mac or iPhone, whether through Wi-Fi or a cable.

Fixing Epson Printer Offline Error on Mac

  • Check Printer Queue: Open ‘System Preferences’ > ‘Printers & Scanners’. Select your printer and open the queue. If there are any stalled print jobs, remove them.

  • Delete and Re-Add Printer: Sometimes, removing the printer from your list and adding it back can resolve the issue. Go to ‘Printers & Scanners’, select your printer, click the ‘-‘ button to remove it, then click the ‘+’ button to add it back.

  • Update Printer Drivers: Ensure your printer’s drivers are up to date. You can download the latest drivers from Epson’s official website.

Fixing Epson Printer Offline Error on iPhone

  • Restart Your Printer and iPhone: A simple restart can often fix connectivity issues. Turn off your printer and iPhone, wait a few minutes, and then turn them back on.

  • Check Wi-Fi Connection: Ensure both your iPhone and printer are connected to the same Wi-Fi network.

  • Use AirPrint: Make sure you’re using AirPrint, Apple’s printing technology. Go to the document or photo you want to print, tap the share icon, and select ‘Print’. Ensure your Epson printer is selected.

Advanced Troubleshooting Steps

If the issue persists, consider these advanced steps:

  • Reset Printing System: On your Mac, right-click the printer list in ‘Printers & Scanners’ and select ‘Reset printing system’. This will remove all printers and scanners and their jobs. Re-add your printer.

  • Firmware Update: Check for any firmware updates for your Epson printer on the Epson support site.

Conclusion

Dealing with the printer offline error can be a hassle, but with these troubleshooting steps, you will be able to get your Epson printer back online on both Mac and iPhone. Many such issues can be prevented with regular maintenance. If you are experiencing persistent issues, it is recommended to contact Epson support for further assistance.

Remember, the key to a smooth printing experience is to ensure that your equipment communicates effectively with your printer. By following the steps outlined above, you are on your way to hassle-free printing.

FAQs

  1. Why does my printer keep going offline?

    • This can be due to connectivity issues, power-saving modes, or problems with your printer’s settings or drivers.

  2. Can outdated drivers cause offline printer errors?

    • Yes, outdated or corrupt drivers can prevent your computer or iPhone from communicating with your printer, causing it to appear offline.

  3. How do I know if my printer is AirPrint-enabled?

    • Check your printer’s specifications on the Epson website or look for the AirPrint logo on your printer or its box.

  4. What should I do if none of these steps work?

    • Contact Epson support for professional assistance. There might be a hardware issue or a more complex software problem.

  5. How can I prevent going offline in the future?

    • Regularly update your printer’s drivers and firmware, ensure stable connectivity, and check the printer’s settings for any issues that might cause it to go offline.

How to Successfully Remove a Printer from Windows 10 and 11

How to Successfully Remove a Printer from Windows 10 and 11

How to Successfully Remove a Printer from Windows 10 and 11

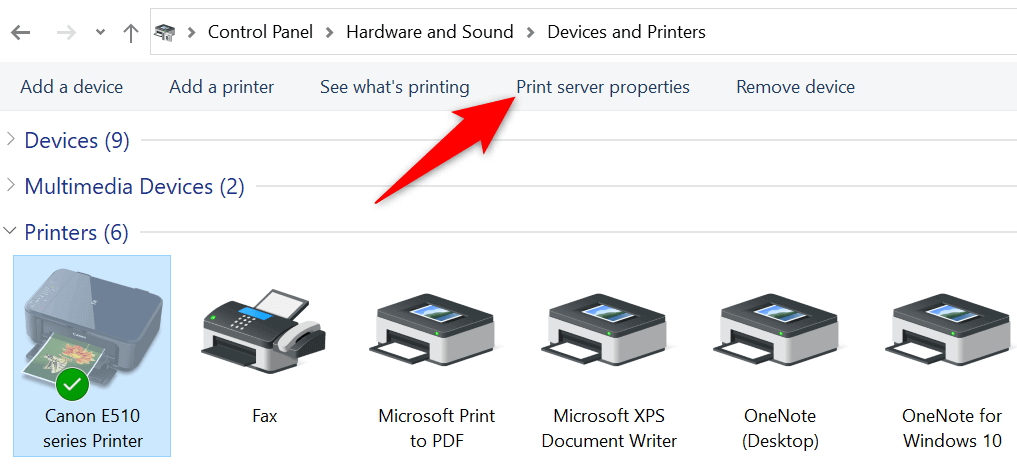
Image Source: online-tech-tips.com

In the digital age, managing devices and peripherals like printers has become an essential part of our daily lives. However, there may come a time when you will need to remove a printer from your Windows 11 or Windows 10 PC. Whether you’re upgrading your printer, experiencing compatibility issues, or simply decluttering your device list, this guide will walk you through the steps to efficiently remove a printer from your Windows PC.

Why You Might Need to Remove a Printer

Before we get into the process, it’s important to understand why you want to remove the printer:

1. Upgrading or Replacing Your Printer

When you get a new printer or upgrade your existing printer, it is necessary to remove the old printer to avoid confusion and ensure proper installation of the new device.

2. Solving Compatibility Issues

If your printer isn’t working properly with your PC or if you’ve switched to a different model or brand, removing the old printer may resolve compatibility issues.

3. Decluttering Your Devices

Over time, your devices list may become cluttered with printers you no longer use. Deleting them can streamline your device management.

Step-by-Step Guide

Now, let’s move on to the process of removing a printer from your Windows 11 or Windows 10 PC:

  • Click the “Start” menu and select “Settings”.

  • In the Settings window, click the “Device” option.

  • On the left sidebar, select “Printers & Scanners.”

  • In the Printers and Scanners section, you will see a list of connected printers. Find the one you want to remove.

  • Click on the printer you want to remove and a “Remove Device” button will appear. Click it.

  • A confirmation dialog will appear, asking if you are sure you want to delete the printer. Confirm by clicking “Yes”.

  • The selected printer will be removed from your PC, and you will see it disappear from the list of printers and scanners.

Conclusion

Removing a printer from your Windows 11 or Windows 10 PC is a straightforward process that can help you maintain an organized and efficient device list. Whether you’re upgrading your printer, dealing with compatibility issues, or simply decluttering, following these steps will ensure a hassle-free experience.

FAQs

1. Can I remove multiple printers at once?

No, you will have to remove each printer individually by following the steps outlined in this guide.

2. Will removing a printer delete its drivers?

No, removing a printer will simply remove it from the list of connected devices on your PC. The printer drivers will remain intact unless you uninstall them separately.

3. Can I remove a printer if it’s offline?

Yes, you can remove the printer even when it is offline.

4. Is there a limit to how many printers I can connect to my Windows PC?

There is no strict limit to the number of printers you can connect, but it is recommended to keep your device list organized by removing printers you no longer use.

5. What should I do if I accidentally remove the wrong printer?

If you accidentally remove the wrong printer, you can easily reconnect it by following the printer setup process on your PC.

How to Troubleshoot an Epson Printer Not Printing After Refilling Ink

How to Troubleshoot an Epson Printer Not Printing After Refilling Ink?

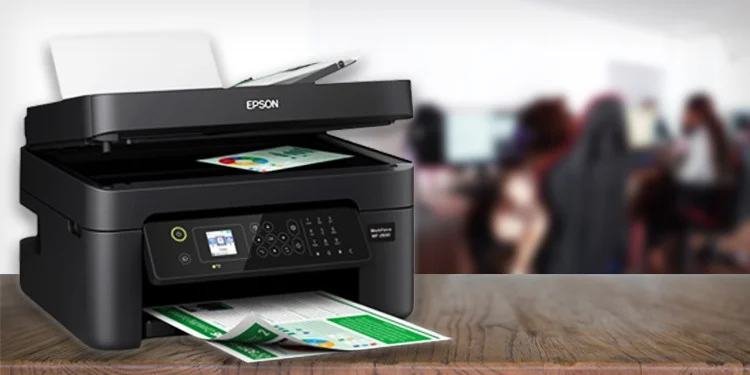
Encountering the challenge of an Epson printer not printing after an ink refill can be both perplexing and inconvenient. In this guide, we will delve into effective troubleshooting steps to identify and resolve the issue, ensuring a seamless printing experience with your Epson printer.

Image Source – technewstoday.com

Check Ink Levels

Begin your troubleshooting journey by verifying the ink levels in your Epson printer. Low ink levels could be a potential hindrance to printing. Check the ink status through the printer settings on your computer or the printer display panel.

Ensure Proper Ink Refill

Confirm that the ink cartridges were refilled correctly. Ensure each cartridge is securely in place without leaks or spills. Incorrectly refilled cartridges can disrupt the printing process and cause issues.

Run Printer Self-Test

Initiate a self-test on your printer to determine its operational status. Refer to your printer manual for specific instructions on how to run a self-test. This step aids in pinpointing whether the issue lies with the printer or the computer.

Check for Air Bubbles

Air bubbles in the ink cartridges can impede the printing process. Conduct a nozzle check and head cleaning through the printer software to eliminate air bubbles and ensure a smooth ink flow.

Update Printer Drivers

Outdated or incompatible printer drivers may contribute to the problem. Visit the official Epson website to download and install the latest printer drivers compatible with your operating system. This ensures optimal functionality.

Clean Print Heads

Unclean print heads can result in poor print quality or complete printing failure. Use the printer’s utility software to perform a thorough print head cleaning. Follow the on-screen instructions for a meticulous cleaning process.

Reset Printer Settings

Resetting the printer to default settings can resolve configuration issues. Access the printer settings through the control panel or computer and perform a factory reset. Note that this action may erase customized settings.

Inspect for Paper Jams

Paper jams are common culprits for disrupted printing. Open the printer and inspect for any stuck or crumpled paper. Carefully remove obstructions and ensure the paper path is clear for smooth printing.

Check for Error Messages

Keep an eye out for error messages on the printer display panel or computer. Error messages provide insights into the nature of the problem. Address the specific issues indicated in the messages for effective troubleshooting.

Perform a Test Print

Initiate a test print from your computer to assess whether the issue persists. opt for a simple document or image for testing purposes. This step helps identify whether the problem lies with the printer, computer, or specific files.

Also Read: How To Connect Your Phone to Smartwatch: A Comprehensive Guide

Conclusion

By systematically following these troubleshooting steps, you can effectively resolve the issue of your Epson printer not printing after an ink refill. For model-specific instructions, consult your printer manual, and if the problem persists, consider reaching out to Epson customer support for tailored assistance.

HP Printer Won't Connect to Wi-Fi? Here Are Some Troubleshooting Tips

HP Printer Won’t Connect to Wi-Fi? Here Are Some Troubleshooting Tips

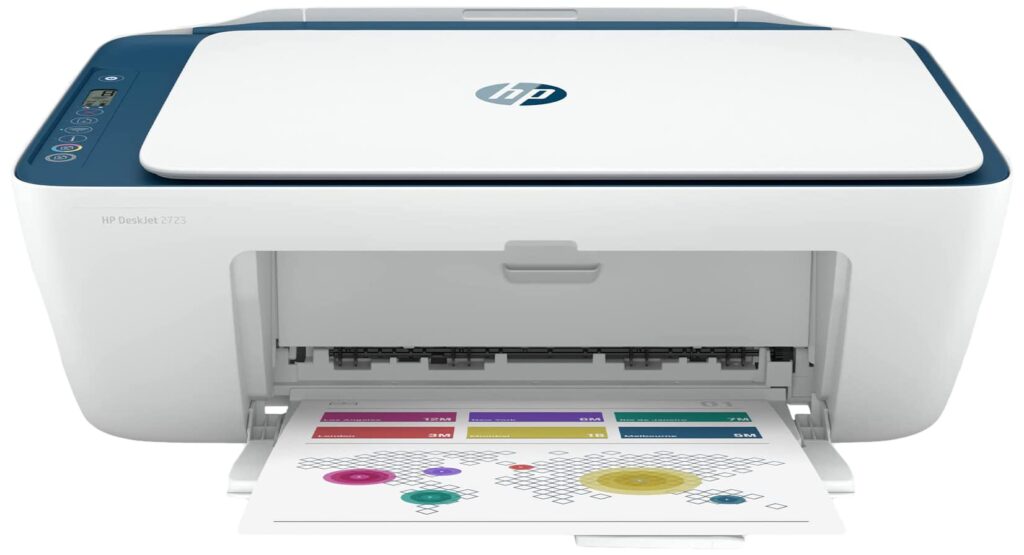
Setting up an HP printer with Wi-Fi usually involves a few steps. These instructions will guide you through the process for most HP printers, although some specific models may have slight variations.

Prerequisites:

HP Printer Won't Connect to Wi-Fi? Here Are Some Troubleshooting Tips

Image Source: amazon.in

  • An HP printer that supports Wi-Fi connectivity.
  • A computer or mobile device with Wi-Fi capability.
  • An active Wi-Fi network.

Steps to set up an HP printer with Wi-Fi:

1. Prepare the Printer:

  • Turn on the HP printer.
  • Ensure it has paper and the ink or toner cartridges are installed.

2. On the Printer’s Control Panel:

  • Navigate to the ‘Setup’ or ‘Network’ menu.
  • Choose ‘Wireless’ or ‘Wi-Fi Setup Wizard.’ This might be under ‘Wireless Settings’ or a similar menu.
  • The printer will start searching for available networks.
  • From the list of networks, select your Wi-Fi network.
  • If prompted, enter the Wi-Fi password using the printer’s control panel.

3. Software Installation (if not already installed):

     Insert the CD that came with the printer into your computer and follow the on-screen instructions. If you don’t have a CD:

  • Go to the HP website.
  • Navigate to ‘Support’ and then ‘Software and Drivers’.
  • Enter your printer model and download the appropriate driver/software package.
  • Install the downloaded software on your computer and follow the on-screen instructions.

4. Connect the Printer to the Computer:

  • During software installation, you will be asked to select a connection type. Select ‘Wireless’.
  • The software will search for the printer on the network.
  • Once found, follow the on-screen instructions to complete the connection.

5. Print a Test Page:

  • Once setup is complete, try printing a test page to make sure the connection is successful.

6. Mobile Devices (optional):

    If you want to print from a mobile device:

  • Download the HP Smart app from your device’s app store.
  • Open the app and follow the instructions to connect the printer.
  • Now you can print directly to your HP printer from your mobile device.

Troubleshooting Tips:

  • If your printer does not detect the Wi-Fi network, make sure the printer is within range of the router.
  • Make sure the Wi-Fi network is active and working for other devices.
  • Restart both the printer and the router if you encounter connection issues.
  • If using a dual-band router (2.4GHz and 5GHz), make sure your printer is connecting to a 2.4GHz network, as many printers may not support the 5GHz band.
  • Always make sure you have installed the latest printer drivers from the HP website.

Following these steps will help you set up your HP printer with Wi-Fi. If you encounter any problems, refer to the specific user manual for your printer model or visit the HP Support website for more assistance.