Your Tech Story

tech tricks

Unlocking the Secrets of Apple's New Journal App in iOS 17

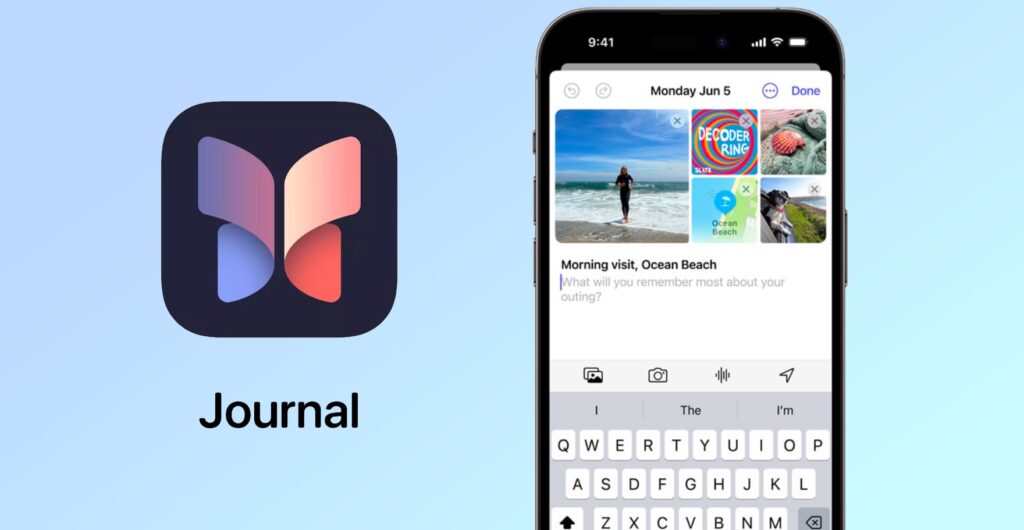
Unlocking the Secrets of Apple’s New Journal App in iOS 17

Apple’s Journal App in iOS 17 is a game-changer for anyone looking to document their thoughts, ideas, and daily experiences. This comprehensive guide will introduce you to the app’s intuitive interface, showing you how to create, personalize, and organize your journal entries. Learn to enhance your writing with advanced text features, add multimedia for a richer experience, and integrate seamlessly with other iOS apps. Whether you’re documenting memories, tracking goals, or seeking a mindful escape, the Journal App in iOS 17 is your perfect companion, blending functionality with creativity for an enriching journaling journey.

Navigating the Interface

Familiarize yourself with the user-friendly interface, which includes key features such as entry lists, search functions, and settings.

Creating Your First Journal Entry

Unlocking the Secrets of Apple's New Journal App in iOS 17

Image Source: tomsguide.com

Let’s create your first entry. I’ll guide you through a simple process to start your journaling journey. Discover how to effortlessly input your thoughts, emotions, or daily experiences, customizing each entry with text styles, colors, and multimedia enhancements. Whether you’re chronicling a special moment, jotting down ideas, or simply recording your day, Apple’s Journal App makes it intuitive and enjoyable, setting the stage for a rich, personalized journaling experience on your iOS device.

Utilizing Advanced Text Features

Apple’s Journal app goes beyond basic journaling with its range of advanced text features, allowing you to create entries that are as unique as your experiences. Dive deeper into a variety of text customization options, including diverse fonts, styles, and colors to creatively express your ideas and stories.

Adding Media to Your Entries

This feature allows you to bring your stories to life with vivid visuals and sounds. Whether it’s a memorable photo, an inspirational video clip, or a piece of audio that captures the essence of your day, embedding media in your journal entries enriches your storytelling, making each page not only It becomes a record of your life, but also a living tapestry of memories.

Using Tags and Categories

Learn to efficiently organize your entries using tags and categories for easy retrieval and reference.

Integrating with Other iOS Apps

Maximize your journaling experience by syncing your entries with other iOS apps like Calendar and Reminders.

Customizing Your Journal Experience

Customize your journal with theme, font, and layout options to match your personal style.

Privacy and Security in the Journal App

Understand the privacy and security features of the app to keep your personal entries safe and secure.

Using the Journal App for Productivity and Mindfulness

Explore how the Journal App can be a tool for increasing productivity and mindfulness in your daily life.

Conclusion

Apple’s Journal App in iOS 17 offers a fantastic platform for capturing your life’s moments. Dive in and start exploring its vast potential!

The Ultimate Guide to Connecting Your Surface Pro to a Monitor

The Ultimate Guide to Connecting Your Surface Pro to a Monitor

Connecting the Surface Pro to a monitor is a straightforward process that significantly expands your visual workspace. Whether for increased productivity, better multitasking, or better entertainment experiences, connecting your Surface Pro to an external monitor is a game-changer. This simple but impressive process involves identifying the correct port on your device (such as USB-C or Mini DisplayPort), selecting a compatible monitor, and using the appropriate cable or adapter. Once connected, you can easily adjust display settings like resolution and orientation to suit your needs. Ideal for professionals, creative people, and tech enthusiasts, this setup unlocks the full potential of your Surface Pro, turning it into a more powerful and versatile workstation.

Understanding Surface Pro Ports

Understanding the ports on your Surface Pro is key to maximizing its functionality, especially when it comes to connecting external devices like a monitor. Here’s a description of the common ports you’ll find on the various Surface Pro models.

Choosing the Right Monitor

The Ultimate Guide to Connecting Your Surface Pro to a Monitor

Image Source: gechic.com

Not all monitors are created equal. When selecting a monitor for your Surface Pro, it’s important to consider a variety of factors to ensure you get the most out of your dual-screen setup. Consider size, resolution, and port compatibility.

Types of Cables and Adapters

You’ll probably need a cable or adapter to connect. We’ll explore HDMI, DisplayPort, and USB-C options.

Configuring Display Settings on Windows

Once you’ve successfully connected your Surface Pro to a monitor, the next step is to fine-tune your display settings to ensure an optimal viewing experience. Here’s how to adjust key settings like resolution, orientation, and others.

Benefits of a Dual Monitor Setup

Discover the transformative power of a dual monitor setup! Embrace the vastness of extended screen space that not only doubles your digital workspace but also boosts your productivity. Whether for professional work, creative projects, or even to enhance your entertainment experience, learn why upgrading to two monitors could be a game-changer in your daily digital life.

Customizing Your Workspace

Organize your digital workspace effectively. Here’s how to manage Windows and apps on multiple screens.

Surface Pro Docking Station: Expanding Your Options

For even more connectivity, consider using the Surface Pro Docking Station.

Wireless Display Options

Prefer to go wireless? We’ll discuss Miracast and other wireless display methods.

Surface Pro in Professional Environments

The Surface Pro shines in professional environments, offering a seamless blend of portability, power, and versatility. Its lightweight design and robust performance make it an ideal choice for business professionals on the go. With features like a high-resolution touchscreen, detachable keyboard, and stylus support, it easily adapts to different work scenarios. The compatibility of the Surface Pro turns it into a desktop-like experience when needed.

Conclusion

Extending your Surface Pro’s display to a monitor opens up a world of possibilities. Whether for work or play, this is a simple but effective upgrade.

How to Troubleshoot an Epson Printer Not Printing After Refilling Ink

How to Troubleshoot an Epson Printer Not Printing After Refilling Ink?

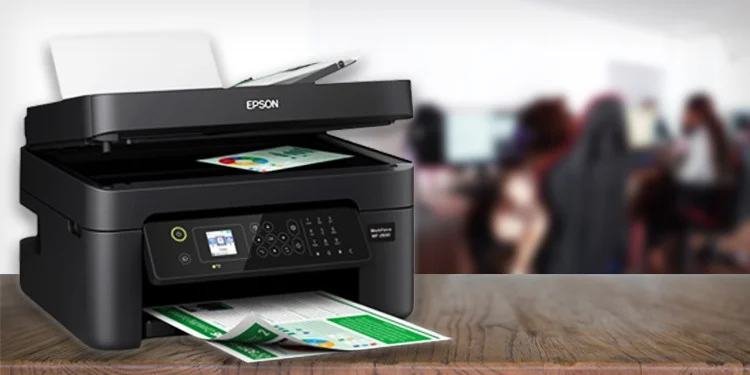
Encountering the challenge of an Epson printer not printing after an ink refill can be both perplexing and inconvenient. In this guide, we will delve into effective troubleshooting steps to identify and resolve the issue, ensuring a seamless printing experience with your Epson printer.

Image Source – technewstoday.com

Check Ink Levels

Begin your troubleshooting journey by verifying the ink levels in your Epson printer. Low ink levels could be a potential hindrance to printing. Check the ink status through the printer settings on your computer or the printer display panel.

Ensure Proper Ink Refill

Confirm that the ink cartridges were refilled correctly. Ensure each cartridge is securely in place without leaks or spills. Incorrectly refilled cartridges can disrupt the printing process and cause issues.

Run Printer Self-Test

Initiate a self-test on your printer to determine its operational status. Refer to your printer manual for specific instructions on how to run a self-test. This step aids in pinpointing whether the issue lies with the printer or the computer.

Check for Air Bubbles

Air bubbles in the ink cartridges can impede the printing process. Conduct a nozzle check and head cleaning through the printer software to eliminate air bubbles and ensure a smooth ink flow.

Update Printer Drivers

Outdated or incompatible printer drivers may contribute to the problem. Visit the official Epson website to download and install the latest printer drivers compatible with your operating system. This ensures optimal functionality.

Clean Print Heads

Unclean print heads can result in poor print quality or complete printing failure. Use the printer’s utility software to perform a thorough print head cleaning. Follow the on-screen instructions for a meticulous cleaning process.

Reset Printer Settings

Resetting the printer to default settings can resolve configuration issues. Access the printer settings through the control panel or computer and perform a factory reset. Note that this action may erase customized settings.

Inspect for Paper Jams

Paper jams are common culprits for disrupted printing. Open the printer and inspect for any stuck or crumpled paper. Carefully remove obstructions and ensure the paper path is clear for smooth printing.

Check for Error Messages

Keep an eye out for error messages on the printer display panel or computer. Error messages provide insights into the nature of the problem. Address the specific issues indicated in the messages for effective troubleshooting.

Perform a Test Print

Initiate a test print from your computer to assess whether the issue persists. opt for a simple document or image for testing purposes. This step helps identify whether the problem lies with the printer, computer, or specific files.

Also Read: How To Connect Your Phone to Smartwatch: A Comprehensive Guide

Conclusion

By systematically following these troubleshooting steps, you can effectively resolve the issue of your Epson printer not printing after an ink refill. For model-specific instructions, consult your printer manual, and if the problem persists, consider reaching out to Epson customer support for tailored assistance.

How to Connect Your Phone To Your Smartwatch

How To Connect Your Phone to Smartwatch: A Comprehensive Guide

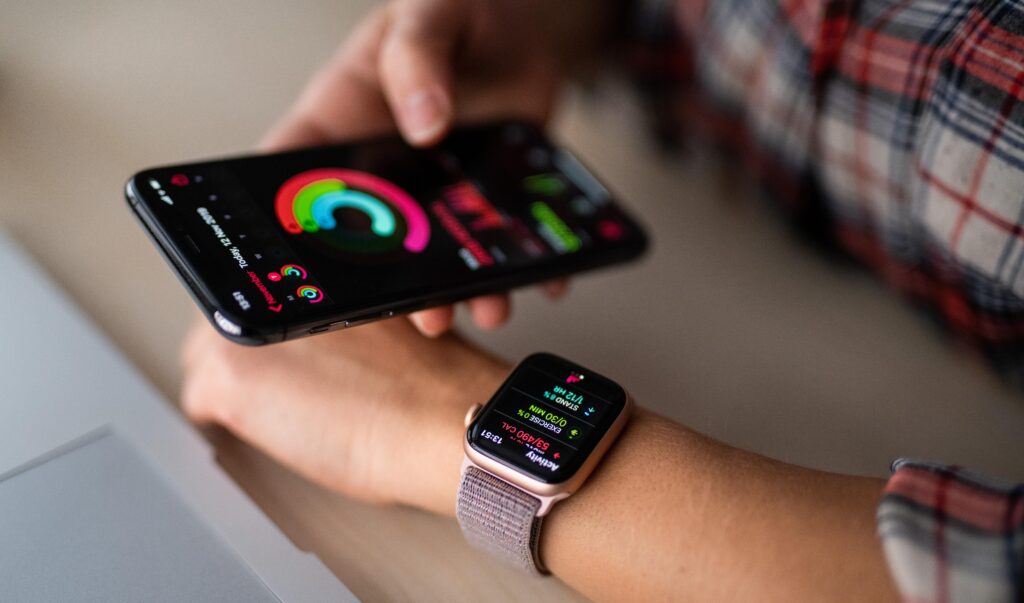
Connecting your phone to your smartwatch is a straightforward process, typically involving Bluetooth technology. This guide will walk you through the steps for both Android and iOS devices.

How to Connect Your Phone To Your Smartwatch
Image Source – currys.co.uk

For Android Devices:

Enable Bluetooth on Your Phone:

Click The “Settings” icon on your Android device.

Navigate to “Connections” or “Connected Devices.”

Turn on Bluetooth.

Enable Bluetooth on Your Smartwatch:

Access the settings menu on your smartwatch.

Look for “Bluetooth” or “Connectivity” and enable Bluetooth.

Pairing the Devices:

In your phone’s Bluetooth settings, find your smartwatch in the list of available devices.

Select your smartwatch and confirm any pairing prompts that appear on both devices.

Install Companion App (if required):

Some smartwatches may require a companion app. Visit the Google Play Store, download the app, and follow on-screen instructions.

Follow On-Screen Prompts:

Finish the setup process by adhering to any further on-screen instructions.

For iOS Devices (iPhone):

Enable Bluetooth on Your iPhone:

Open the “Settings” app on your iPhone.

Tap on “Bluetooth” and turn it on.

Enable Bluetooth on Your Smartwatch:

Access the settings menu on your smartwatch.

Look for “Bluetooth” or “Connectivity” and enable Bluetooth.

Pairing the Devices:

In your iPhone’s Bluetooth settings, find your smartwatch in the list of available devices.

Select your smartwatch and confirm any pairing prompts on both devices.

Install Companion App (if required):

Some smartwatches may need a companion app. Download it from the App Store and follow on-screen instructions.

Also Read: How to Connect 2 Monitors to One PC?

Follow On-Screen Prompts:

Finish the setup by following any additional on-screen instructions.

In conclusion, the key to successfully connecting your phone to your smartwatch is enabling Bluetooth, pairing the devices, and potentially installing a companion app. Always refer to the specific user manuals for your devices for accurate and detailed instructions. Enjoy the seamless integration of your smartwatch with your phone!

How to Fix Your Phone When it Says Google Play Services Keeps Stopping?

How to Fix Your Phone When it Says Google Play Services Keeps Stopping?

How to Fix Your Phone When it Says Google Play Services Keeps Stopping?

On Android smartphones, the “Google keeps stopping” issue is a prevalent problem that can arise when doing several tasks, including installing apps, browsing news, or performing Google searches. This error is frequently linked to a caching issue, which makes the Google application or background operation malfunction and interferes with planned operations such as searching or using the app.

There are several ways to solve this problem:

1. Restart Android:

If the error is transient and brought on by a minor issue with a particular app, service, or shared source, all it takes is a quick restart of the smartphone or tablet to fix it.

2. Clean the Google App's Cache:

It is believed that the cache within the app is the cause of the issue. Getting rid of the cache could prove a useful fix. Go to Settings > Apps > Google. Then, press the three-dot menu and choose “Uninstall updates.”

3. Uninstall the Latest App Upgrades:

Users can fix the problem by uninstalling Google app upgrades. To accomplish this, navigate to Settings > Applications > Google, click the three-dots menu, and choose “Uninstall updates.”

4. Uninstall WebView Updates:

The Android system tool WebView is another possible source of the problem. Look for “Android System WebView” in the application’s settings to find out how to delete upgrades for WebView.

5. Stop or Remove Problematic Apps:

Users can attempt to stop or remove an app if they believe it is the cause of the issue. To accomplish this, long press the application’s icon, choose “App info,” then “Force stop” or just “Uninstall.”

6. Update Android:

The issue may occasionally be brought on by software upgrades, such as system and app updates. Updating Android can be essential, and users can try to fix the problem by downloading and installing the most recent updates.

7. Factory Reset Android:

This may be required if the fault continues. Before continuing, users should make sure all information has been stored. To accomplish this, navigate to Settings > System > Reset options, then choose “Erase all data (factory reset).”

It’s crucial to remember that while Google app issues are uncommon, they may be fixed with simple maintenance procedures like cleaning the cache as well as removing and reinstalling upgrades. The last option might be to perform a factory reset if the problem continues. It is advised that users upgrade their Android smartphones often and monitor upgrades from Google that could fix bugs like this.

Is AppleCare+ Worth Buying for Your iPhone?

Is AppleCare+ Worth Buying for Your iPhone?

The iPhone is a significant investment in the smartphone world. Protecting this investment often leads users to consider AppleCare+, Apple’s extended warranty and support plan. But is it worth the extra cost?

What is AppleCare+?

AppleCare+ extends the standard warranty and support for your iPhone, covering accidental damage and adding additional services like 24/7 technical support.

Cost of AppleCare+

The price of AppleCare+ varies depending on the iPhone model. It can be paid in advance or in monthly installments.

Coverage Details

AppleCare+ covers damage to the iPhone’s screen, battery, and other components. It also includes a maximum of two occurrences of accidental damage protection every 12 months.

Comparison with Standard Warranty

While the standard warranty covers manufacturing defects, AppleCare+ goes further by covering accidental damage and offering lower repair costs.

Limitations of AppleCare+

Is AppleCare+ Worth Buying for Your iPhone?

Image Source: macrumors.com

However, AppleCare+ doesn’t cover everything. Loss or theft of the iPhone is not covered, and there is a limit to how much accidental damage is covered.

User Experiences

Many users find peace of mind in AppleCare+, especially those who have to use it for repairs. Online forums and reviews provide countless evidence of its benefits.

Impact on Resale Value

Having AppleCare+ can also increase the resale value of your iPhone, as it assures potential buyers that the device is in good condition.

Alternatives to AppleCare+

For those who find AppleCare+ too expensive, there are options like carrier-provided insurance plans or third-party insurance.

How to Purchase and Activate

AppleCare+ can be purchased with your new iPhone or within 60 days of purchase. Activation is usually automatic when purchased with an iPhone.

Expert Opinions

Tech experts often recommend AppleCare+ to provide additional protection, especially considering the cost of iPhone repairs.

Conclusion

In conclusion, whether AppleCare+ is worth it depends on your circumstances and how you use your iPhone. If you’re prone to accidents or want the assurance of extended support, this is a valuable investment.