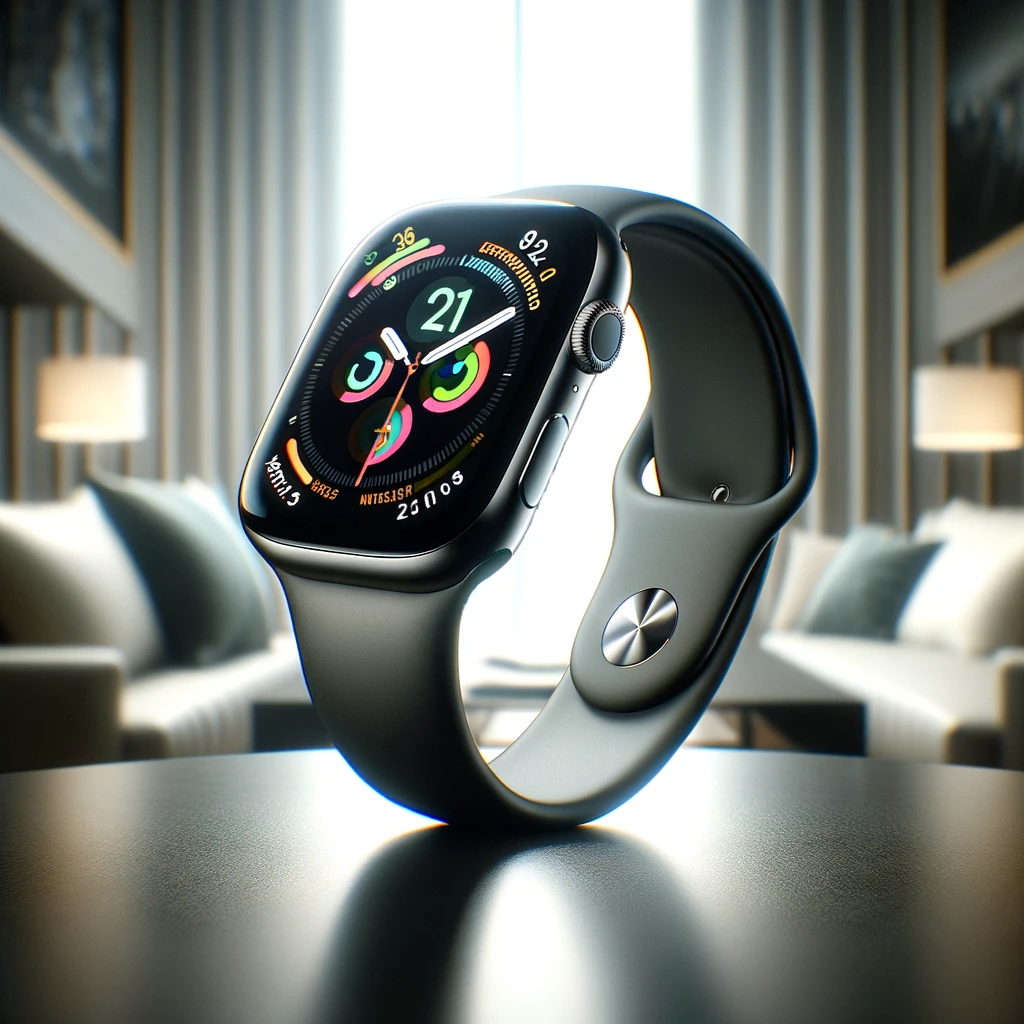
Apple Watch Series 8 Clearance Lands on Amazon Starting from $289 (Save $110)
")
")

I am a law graduate from NLU Lucknow. I have a flair for creative writing and hence in my free time work as a freelance content writer.