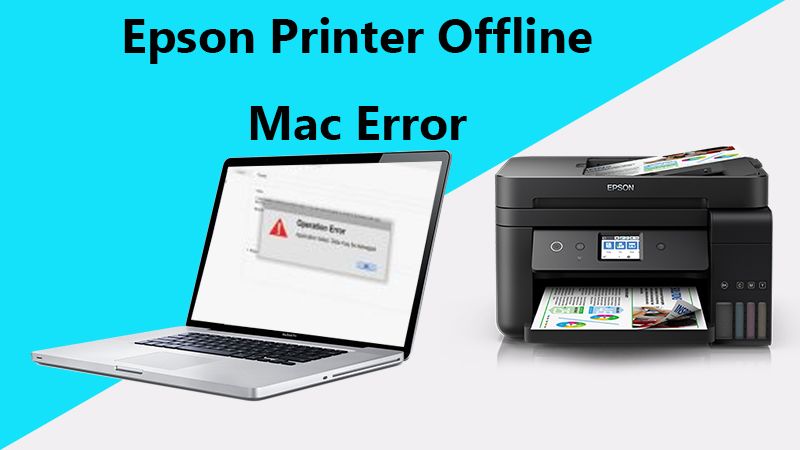
Quick Fixes for Epson Printer Offline Error on Mac and iPhone
Encountering printer offline error can be quite frustrating especially when you need to print documents urgently. If you are using an Epson printer with a Mac or iPhone and encounter this issue, don’t worry. There are several troubleshooting steps you can follow to resolve this issue and get your printer back online.
Understanding the Printer Offline Error
Image Source: epsonprintersupportpro.us
The “Offline” printer status indicates that your computer or iPhone cannot communicate with the printer. This problem can arise due to various reasons, such as connectivity issues, outdated printer drivers, or incorrect printer settings. Identifying the source of the cause is the first step toward fixing the problem.
Initial Checks
Before proceeding with more complex solutions, perform these basic checks:
Ensure the Printer is Turned On: It might seem obvious, but sometimes the printer might be off or in sleep mode.
Check the Connection: Make sure your Epson printer is properly connected to your Mac or iPhone, whether through Wi-Fi or a cable.
Fixing Epson Printer Offline Error on Mac
Check Printer Queue: Open ‘System Preferences’ > ‘Printers & Scanners’. Select your printer and open the queue. If there are any stalled print jobs, remove them.
Delete and Re-Add Printer: Sometimes, removing the printer from your list and adding it back can resolve the issue. Go to ‘Printers & Scanners’, select your printer, click the ‘-‘ button to remove it, then click the ‘+’ button to add it back.
Update Printer Drivers: Ensure your printer’s drivers are up to date. You can download the latest drivers from Epson’s official website.
Fixing Epson Printer Offline Error on iPhone
Restart Your Printer and iPhone: A simple restart can often fix connectivity issues. Turn off your printer and iPhone, wait a few minutes, and then turn them back on.
Check Wi-Fi Connection: Ensure both your iPhone and printer are connected to the same Wi-Fi network.
Use AirPrint: Make sure you’re using AirPrint, Apple’s printing technology. Go to the document or photo you want to print, tap the share icon, and select ‘Print’. Ensure your Epson printer is selected.
Advanced Troubleshooting Steps
If the issue persists, consider these advanced steps:
Reset Printing System: On your Mac, right-click the printer list in ‘Printers & Scanners’ and select ‘Reset printing system’. This will remove all printers and scanners and their jobs. Re-add your printer.
Firmware Update: Check for any firmware updates for your Epson printer on the Epson support site.
Conclusion
Dealing with the printer offline error can be a hassle, but with these troubleshooting steps, you will be able to get your Epson printer back online on both Mac and iPhone. Many such issues can be prevented with regular maintenance. If you are experiencing persistent issues, it is recommended to contact Epson support for further assistance.
Remember, the key to a smooth printing experience is to ensure that your equipment communicates effectively with your printer. By following the steps outlined above, you are on your way to hassle-free printing.
FAQs
-
Why does my printer keep going offline?
-
This can be due to connectivity issues, power-saving modes, or problems with your printer’s settings or drivers.
-
-
Can outdated drivers cause offline printer errors?
-
Yes, outdated or corrupt drivers can prevent your computer or iPhone from communicating with your printer, causing it to appear offline.
-
-
How do I know if my printer is AirPrint-enabled?
-
Check your printer’s specifications on the Epson website or look for the AirPrint logo on your printer or its box.
-
-
What should I do if none of these steps work?
-
Contact Epson support for professional assistance. There might be a hardware issue or a more complex software problem.
-
-
How can I prevent going offline in the future?
-
Regularly update your printer’s drivers and firmware, ensure stable connectivity, and check the printer’s settings for any issues that might cause it to go offline.
-