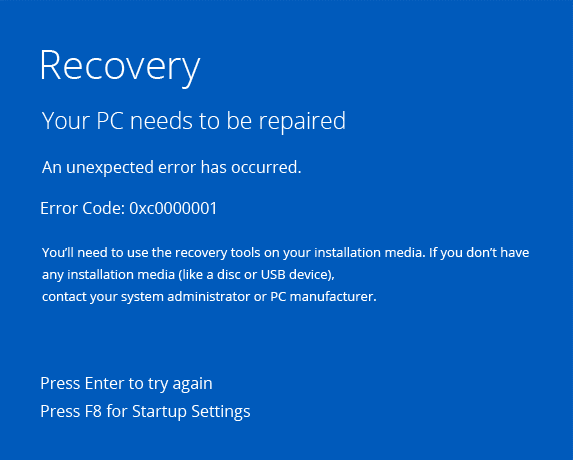
Step-by-Step Guide to Resolve Error Code 0xc0000001 on Windows 10/11

I am a student pursuing my bachelor’s in information technology. I have a interest in writing so, I am working a freelance content writer because I enjoy writing. I also write poetries. I believe in the quote by anne frank “paper has more patience than person