Poco M4 Pro 5G With 90Hz Display, MediaTek Dimensity 810 SoCNow Available: Price, Specifications.
POCO is a well-known Chinese electronics company that specializes in smartphones and other consumer electronics. Because of their simple user interface and low prices, POCO smartphones have become quite popular in India.
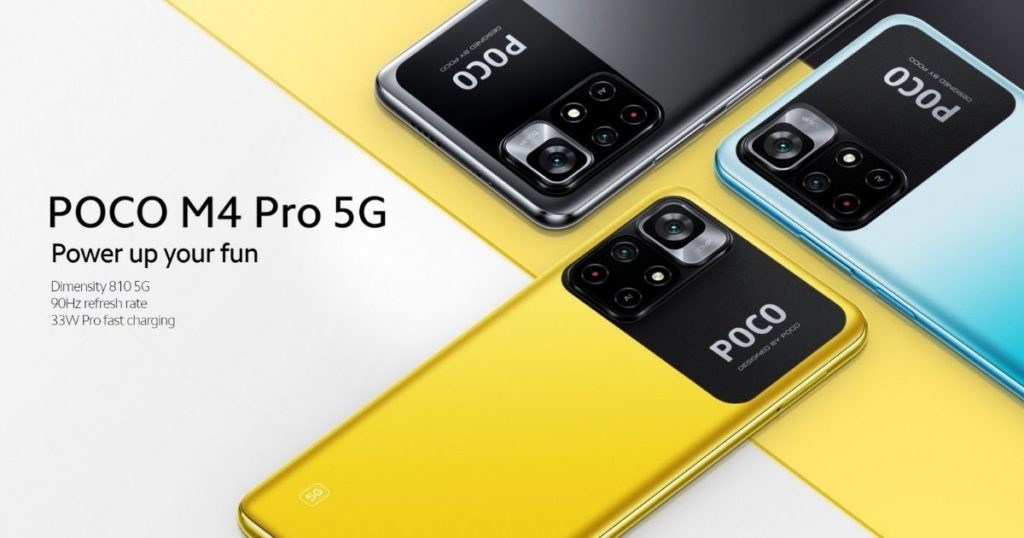
The Poco M4 Pro 5G was unveiled at a virtual event on Tuesday. The new Poco phone is a renamed version of the Redmi Note 11 5G that debuted in China last month and is the successor to the Poco M3 Pro 5G. The Poco M4 Pro 5G features a 90Hz display and a MediaTek Dimensity 810 SoC that launched alongside the Dimensity 920 in August. It also includes dual stereo speakers and expandable storage up to 1TB. Poco also announced a new color variant of the Poco F3 smartphone launched earlier this year.
Poco M4 Pro: Specifications And Features
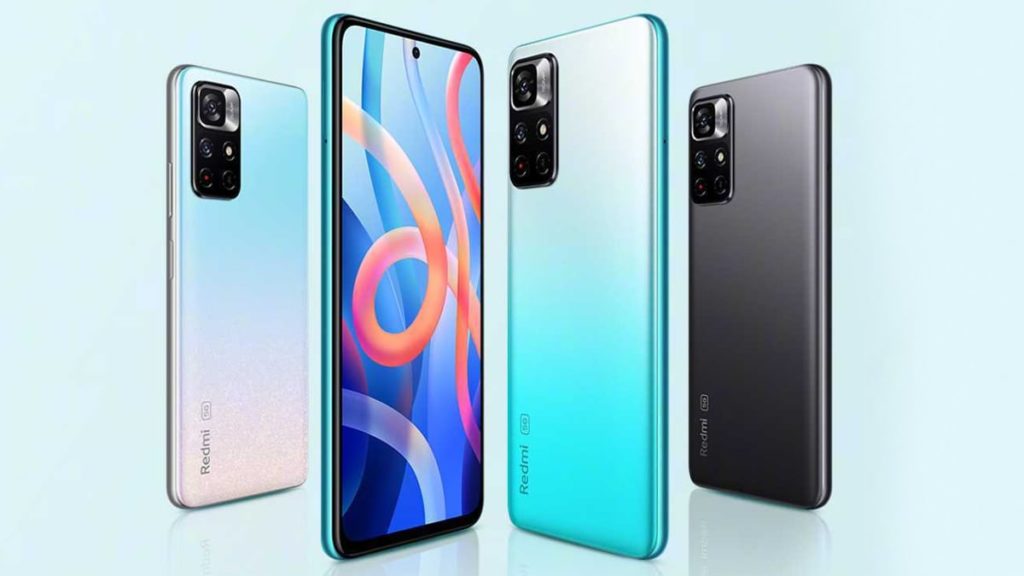
The Poco M4 Pro 5G features a 6.6-inch LCD with a 90Hz refresh rate on the front. It also features a 240Hz touchscreen sampling rate and DCIP3 color for a wider color gamut. A selfie camera cutout is located on the front of the phone. On the back of the phone is a large camera island and Poco brand. It looks like the phone has a quad-camera setup, but it actually only has a dual-camera system on the back.
This device is based on the SoC MediaTek Dimensity 810 manufactured using 6nm process technology. 8-core SoC with Arm CortexA76 and Arm CortexA55 processor cores, the maximum frequency of 2.4GHz, and Mali G57 GPU. The phone comes in three configurations: 4GB + 64GB, 6GB + 128GB and 8GB + 256GB. This phone has USF 2.2 storage and can hold up to 1TB of microSD cards. The phone also supports up to 8GB of virtual RAM. The Poco M4 Pro is powered by a 5000mAh battery that supports 33W Pro fast charging, so it can be fully charged in just 59 minutes.
The Poco M4 Pro 5G has a dual rear camera with a 50MP main sensor. It also features an 8MP ultra-wide camera with a 119-degree lens for taking high-quality photos and videos. The camera has a night mode and comes with an LED flash and a list of artificial intelligence (AI) features. On the front of the Poco M4 Pro, 5G is a 16-megapixel selfie camera sensor. Connectivity options include 5G, 4G LTE, WiFi, Bluetooth, GPS/AGPS, Infrared (IR) blaster, NFC, FM radio, USB TypeC and 3.5mm headphone jack. The phone also has an X-axis linear motor and a fingerprint sensor on the side. Furthermore, the phone is 195 grams in weight.
Price And Availability
The Poco M4 Pro 5G variant with 4GB RAM + 64GB storage cost 229 euros (about 19,600 rupees). This phone is also available in a 6GB + 128GB configuration for €249 including a wireless charger (about Rs 21,300). The Poco M3 Pro 5G will be available starting November 11 in Cool Blue, Poco Yellow, and Power Black colors. Buyers who shop through AliExpress, Goboo, or Shopee receive an early purchase discount of € 30 (approx. Rs 2,600).
Poco M4 Pro 5G will not be available in India until the end of this year. The Poco M3 Pro 5G was launched in Europe in May and India in June. The price of the 4GB + 64GB storage configuration was around 500,000 won. 13,999.
Poco also introduced the Moonlight Silver color option for Poco F3 with Poco M4 Pro 5G. The Poco F3 is available in Arctic White, Deep Ocean Blue, and Night Black. From 11 November the 8GB + 256GB version will be available for € 329 (about Rs 28,200). From 26 November the 6GB + 128GB model will be available for €299 (approx Rs 25,600).